Linking Time Off policies to Scheduling & Time Tracking
Linking Time Off Policies is a part of
Hours Classification
settings in Scheduling & Time Tracking. To learn more about these settings, check out our
About Hours Classification
article.

Note that all Time Off policies will automatically show up on schedules when employees use them. You only need to link Time Off policies when the policies will affect how employees get paid. Policies that don't impact payroll do not need to be linked to Scheduling & Time Tracking.
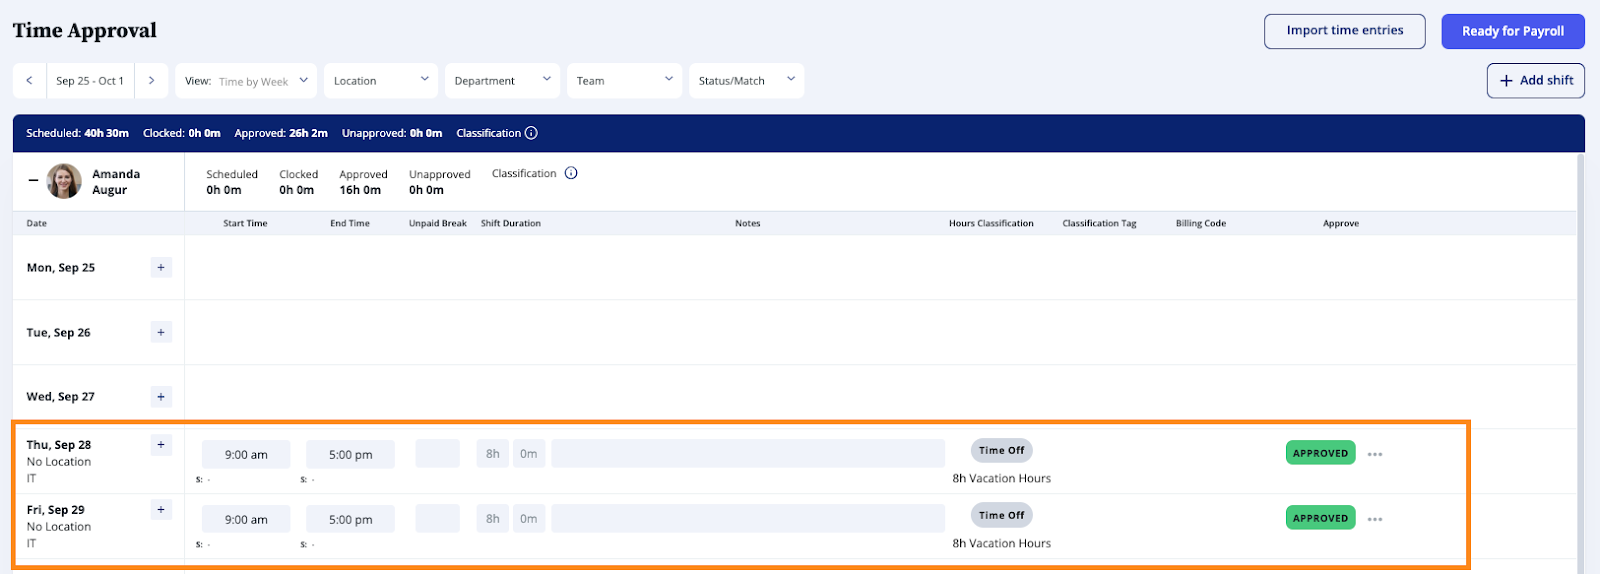
By linking Time Off policies with Scheduling & Time Tracking, any approved time off requests will have a time entry in Time Approval. This provides visibility on how hours are getting paid to your employees. It will also help you track those hours in payroll.
Example
Amanda wants to take 2 vacation days under the Vacation 15 policy.

She creates the time off request, and when it's approved, a new time entry shows up in her Timesheet and in Time Approval.
How to link Time Off Policies to Scheduling and Time Tracking
1. Identify how many pay classes are set up in your organization. A pay class is a group of employees that share the same payroll instructions. Usually, these are created to differentiate how employees are paid, hourly vs salary, paid overtime vs accrued overtime, or weekly overtime vs averaging agreement. You can find the pay classes at the bottom of the page of Scheduling & Time Tracking Settings, navigate to Hours Classification.
Employees from different pay classes can belong to the same Time Off policy. When you are linking Time Off Policies, each pay class needs to be linked in Scheduling & Time Tracking. If you have three pay classes, and all of them need to be connected, then three links are needed.
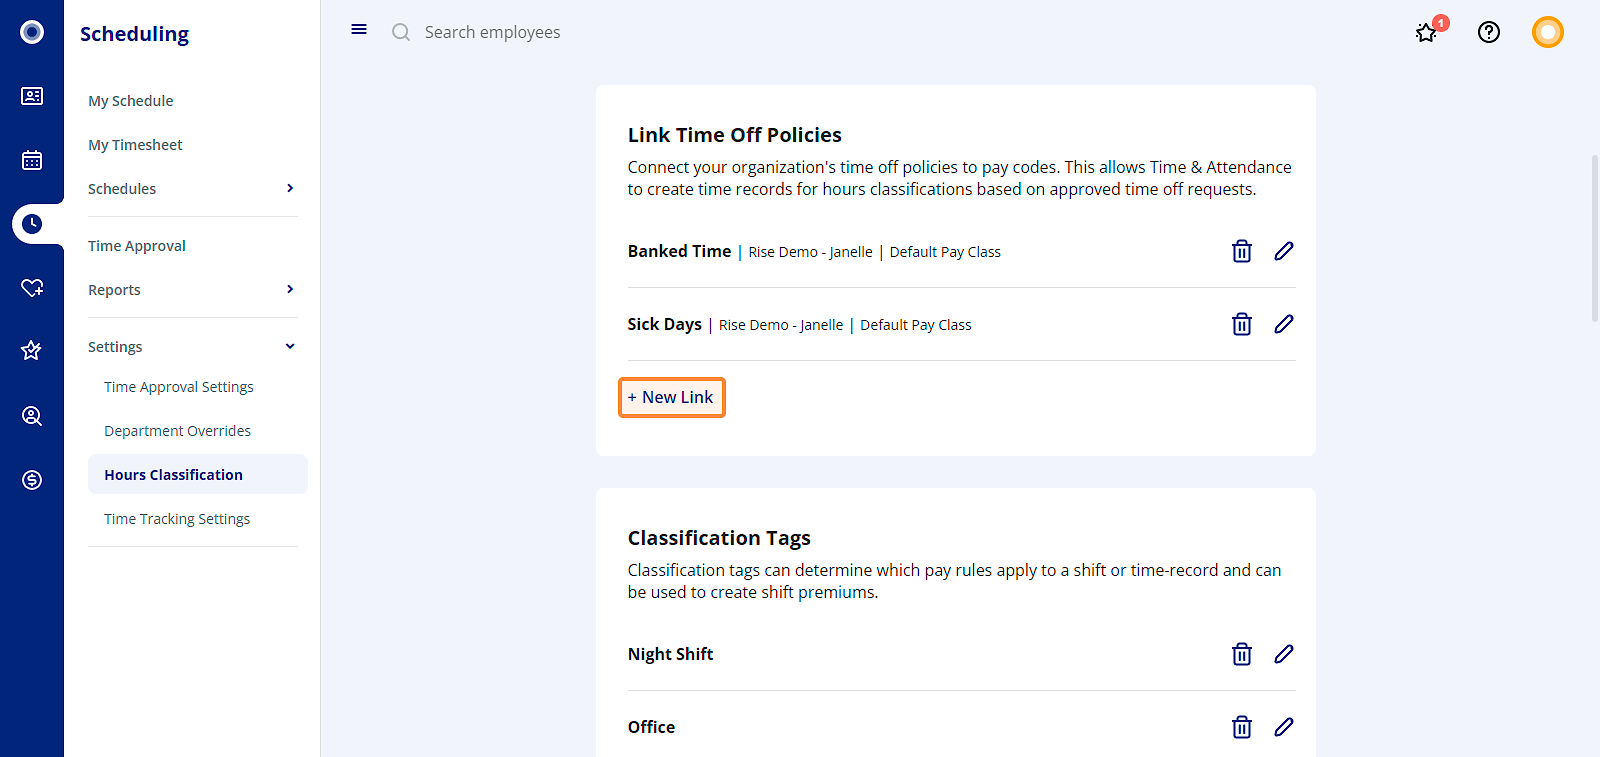
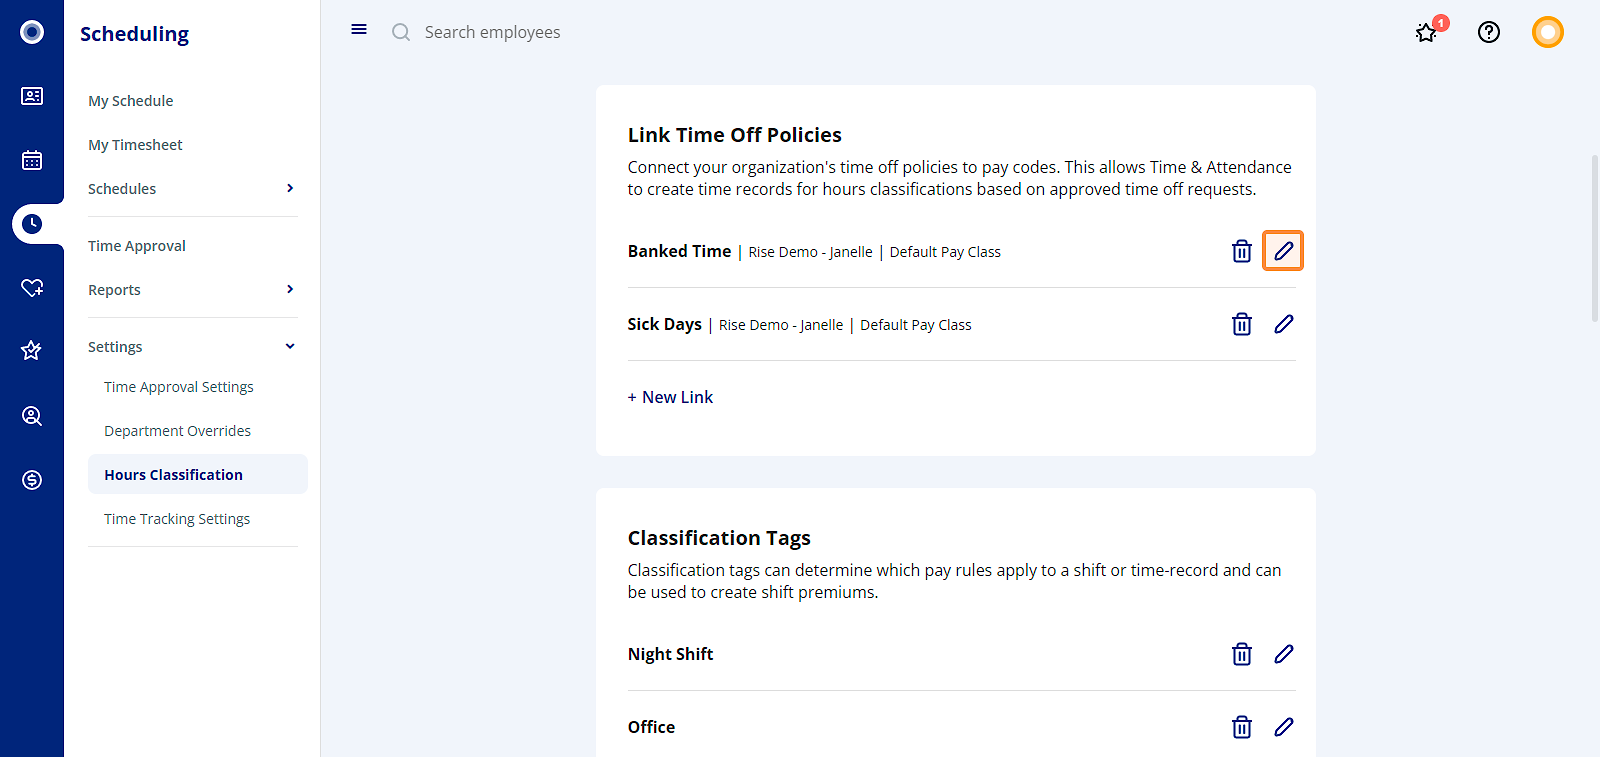
2. To start linking the policies, navigate to the Link Time Off Policies section in Hours Classification.
3. In the Link Time Off Policies section, click + New Link.
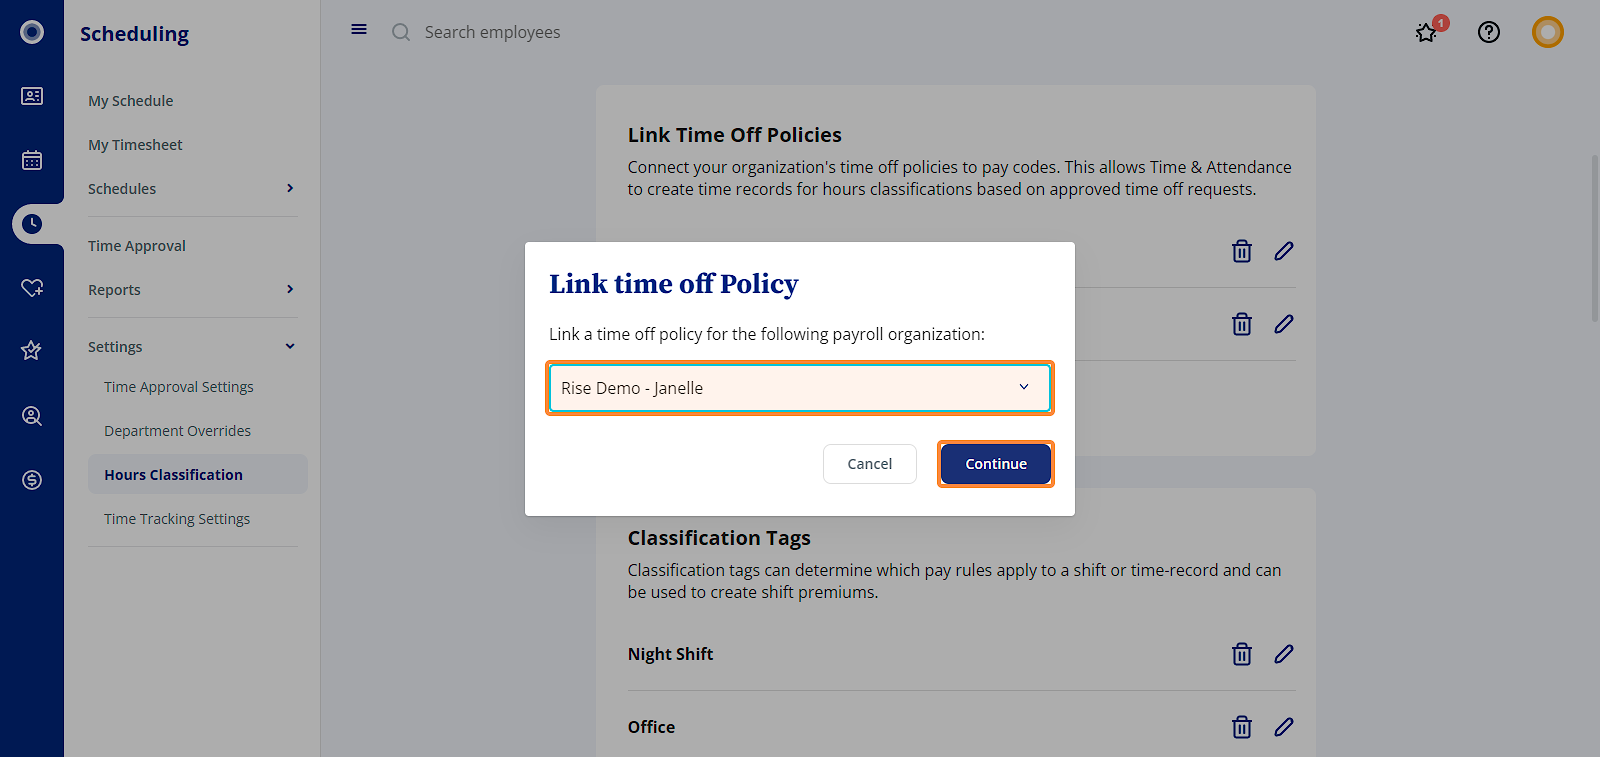
4. Next, link a time off policy for the payroll organization using the dropdown. This list reflects the payroll organization(s) that exist in Rise for your account. Click Continue.
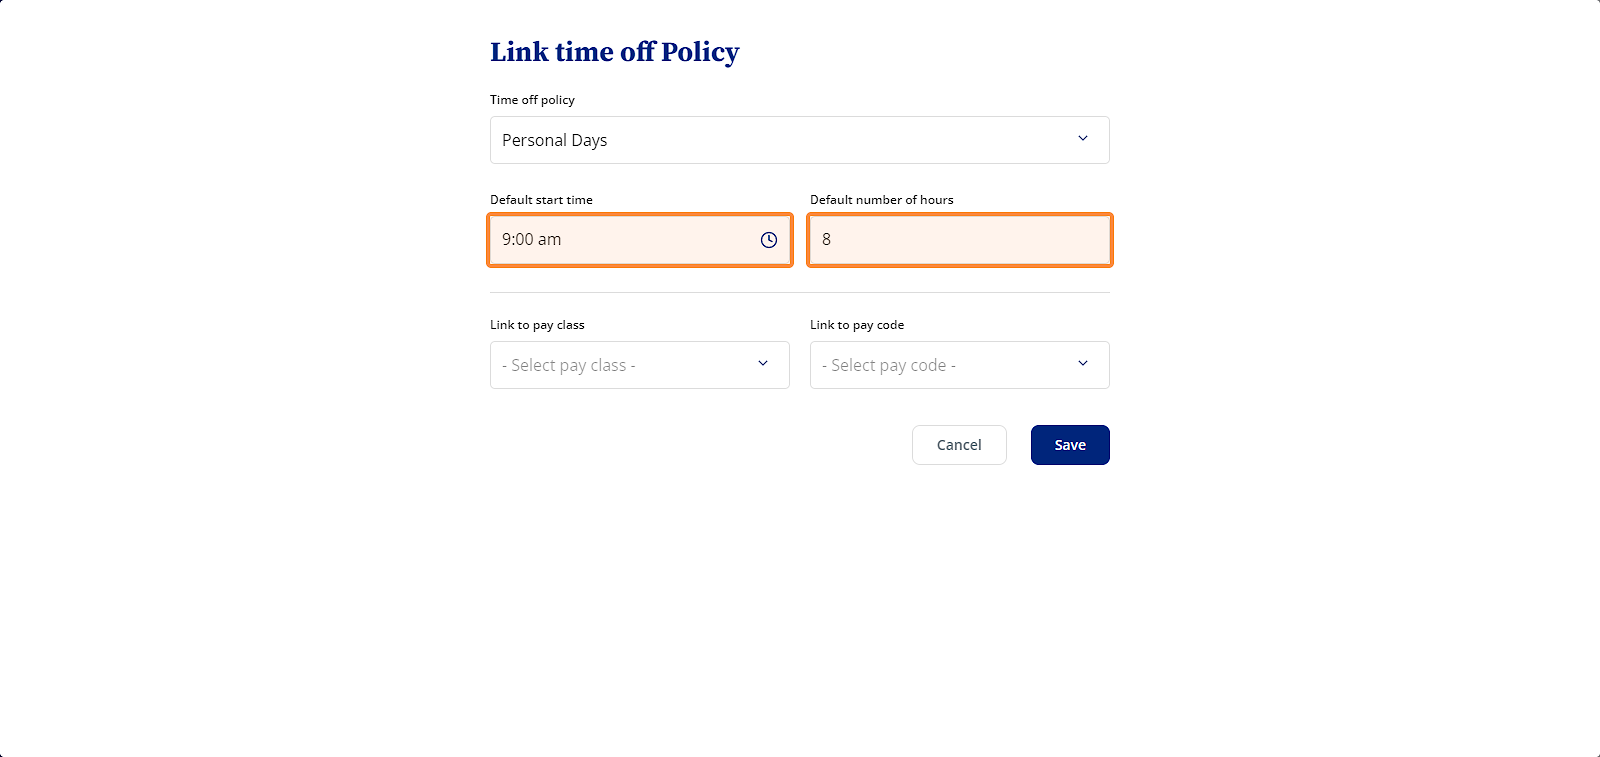
5. Select the time off policy using the dropdown. The list reflects the policies configured for your selected organization.
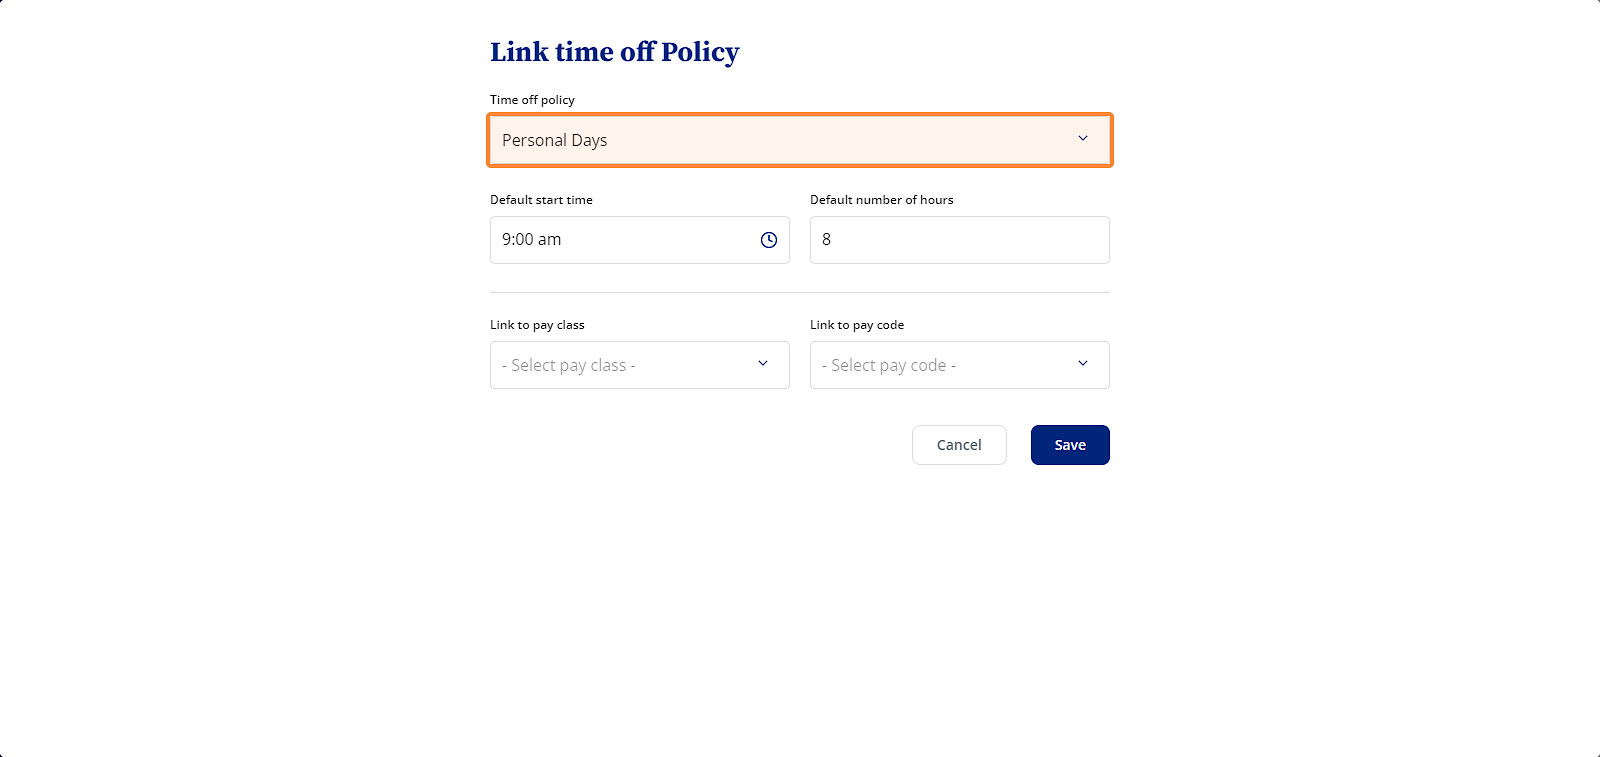
6. Enter a Default start time and Default number of hours. Scheduling & Time Tracking uses the default start time and hours to mark the duration of the time off request, if an employee doesn’t specify the hours in the request.
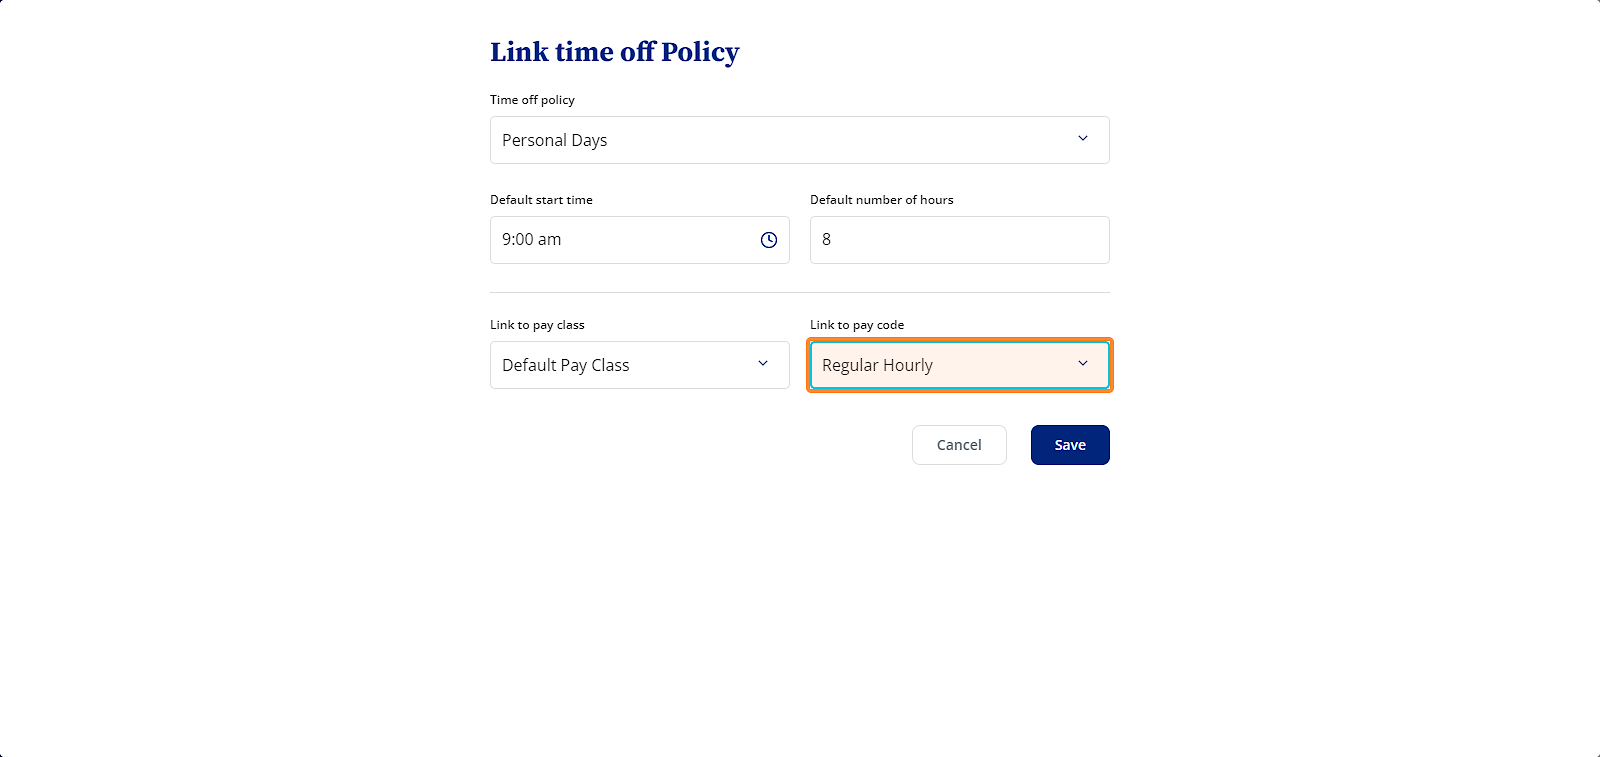
6. Link the time off policy to a pay class using the dropdown. Scheduling & Time Tracking imports employees’ approved time off requests for policies mapped to employees’ pay class. For help with pay classes, check out our
How to create and modify pay classes article.

7. Next, use the dropdown to link the time off policy to a pay code. The same pay code can be used to create multiple links, if needed.
8. Repeat the steps to link other pay classes as necessary.
Modifying the Time Off Policies links
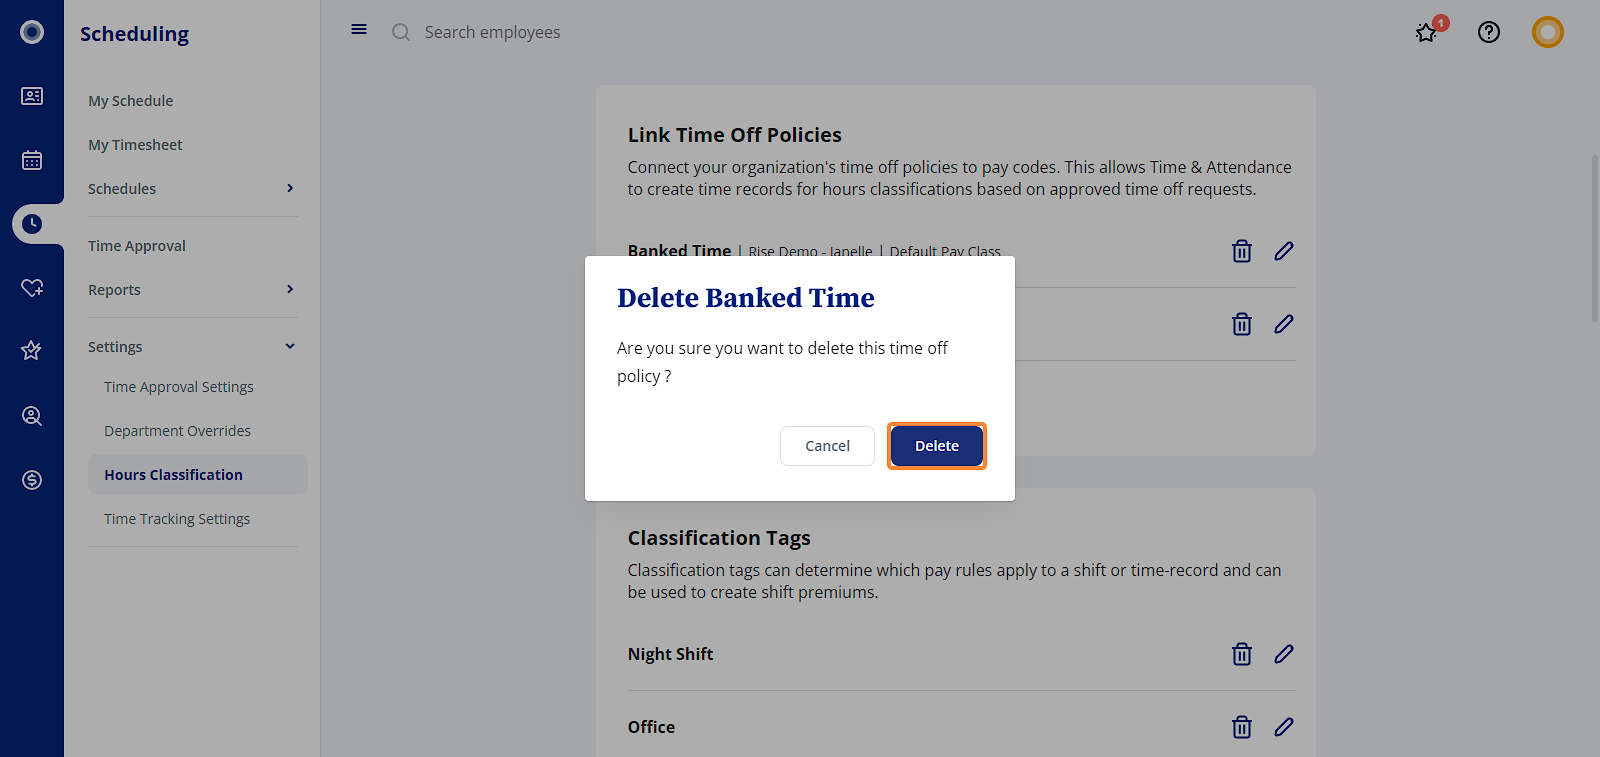
If you wish to delete an existing link, click the Trash icon next to it, then click Delete in the pop-up.
If you wish to modify an existing link, click the Pencil icon next to it. You can read about time off policies settings in the next section about creating a time off policy link.
Related Articles
How to run Rise Scheduling & Time Tracking reports
1. If you’re an Owner or an Admin, you can access the Scheduling & Time Tracking reports from the navigation menu on the left-hand side in Scheduling. 2. The schedule reports give you information about employee shifts and time off. The Schedule By ...Navigate Rise Scheduling and Time Tracking
1. Navigate to Scheduling in Rise. 2. Here, you’ll see all your schedules. To sort your schedules by name or most recent, click the sorting arrow. 3. Use the navigation menu on the left-hand side to navigate through Rise Scheduling & Time Tracking. ...How to create a schedule in Rise Scheduling & Time Tracking
1. To create a new schedule, click + New Schedule. 2. Next, you’ll see a pop-up window to create a new schedule with the following fields: Schedule name - name of the schedule Schedule start date - start date of the schedule Cycle repeats every - ...Frequently Asked Questions - Scheduling & Time Tracking reports
Q: Which reports are available in Scheduling & Time Tracking? A: The following reports are available in Scheduling & Time Tracking: Schedule By Location Schedule By Department Schedule By Employee Time Approval Summary My Time Report Q: Which ...How to create a departmental override in Rise Scheduling & Time Tracking
If you’d like a department to have different Scheduling & Time Tracking settings than your organization settings, you can create an override for that department. 1. In Settings, click Departmental Override on the navigation menu on the left-hand ...