Process a manual cheque
Creating an appropriate pay run
You need to attach this information to a pay run. If the payment is a one-off such as a bonus or termination pay, you will want to create an off-scheduled run. Off-schedule (or Ad-Hoc) runs allow you to add only the employee's and payroll instructions you need. If the payment is a regular pay for the whole pay period, you will want to create a regularly scheduled run. Regular pay runs include all employees and all expected payments for the pay period. For more information, check out our articles on How to create an ad-hoc pay run and How to create a regular pay run.
Once you have a pay run created, and you have entered the input sheet, you are ready to record the manual cheque payment.
Recording a manual cheque payment
1. Enter all earnings that will be paid on this manual cheque, as well as any relevant benefits or deductions.
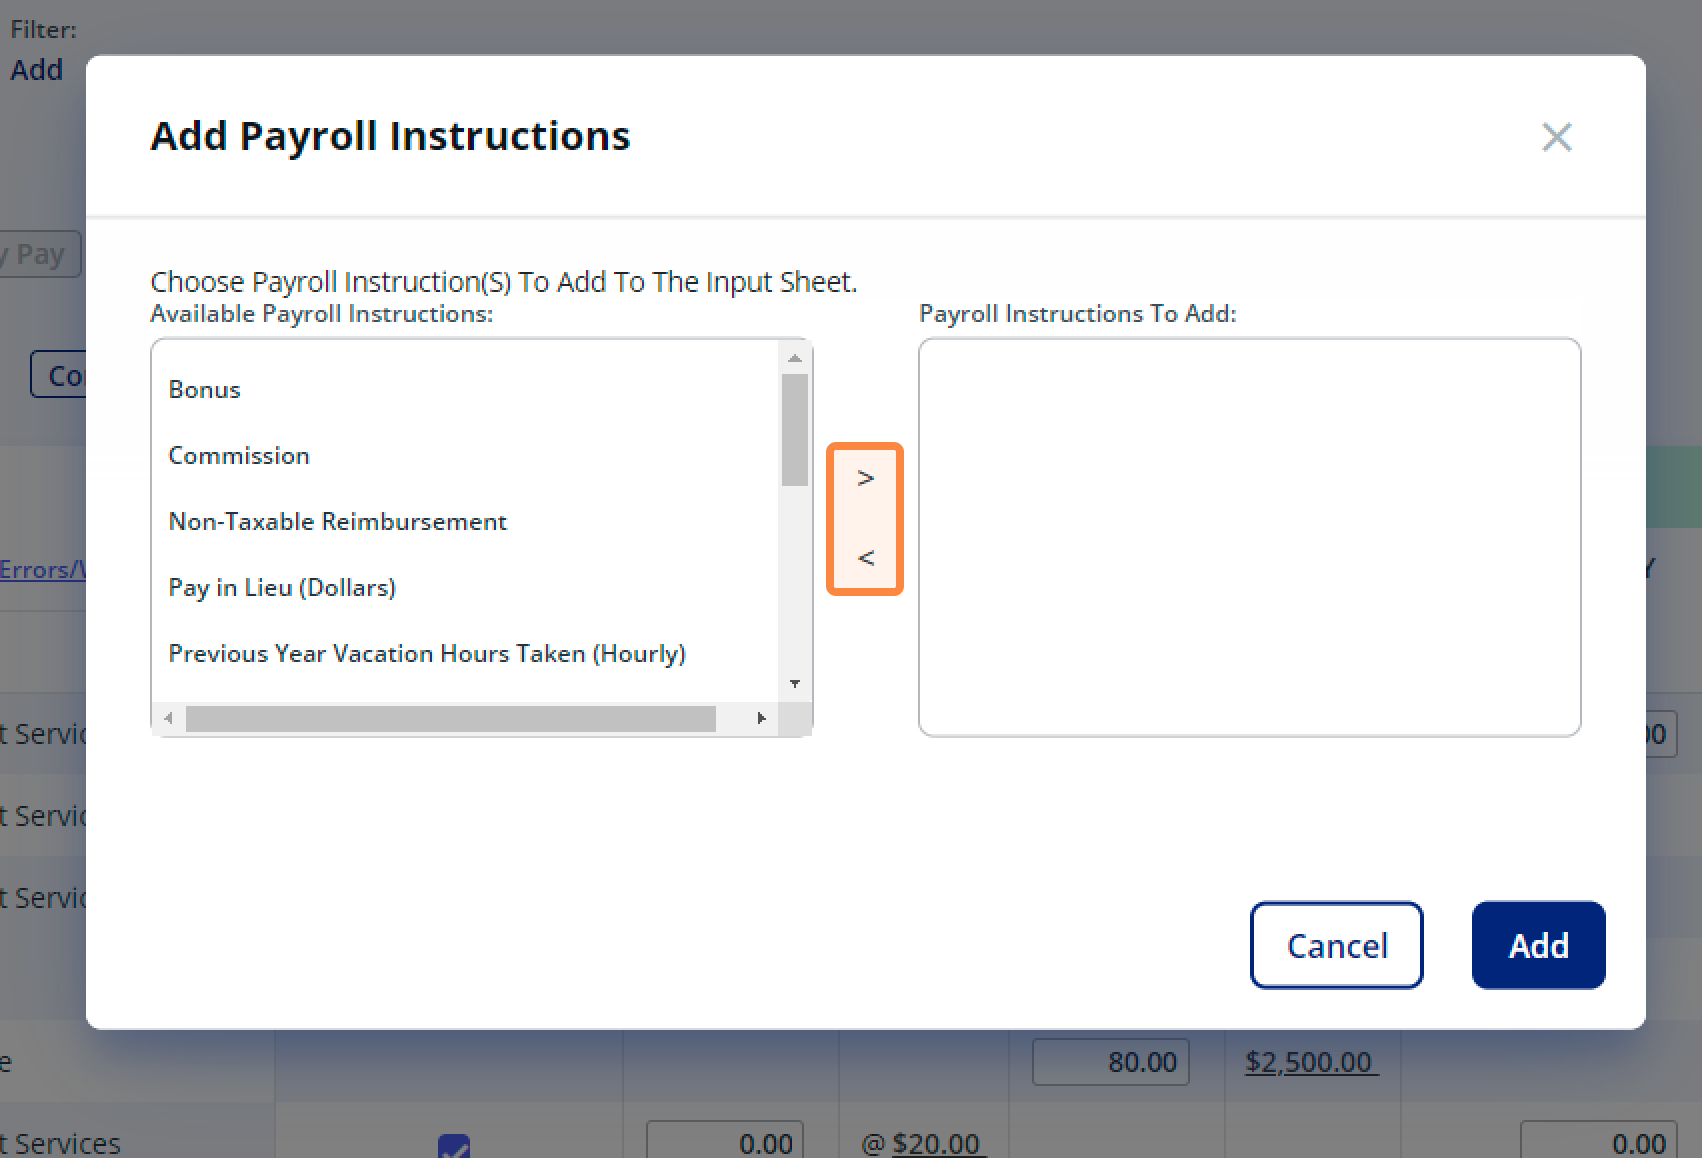
2. On the input sheet, click Add Payroll Instructions.
3. In the pop-up that appears, move the Manual Cheque instruction from the left side to the right using the arrows in the middle or by double clicking on the instruction. Click Add to add this instruction to the input sheet.
4. The pay run will take a moment to process. Once available, click back into the input sheet. To the far right there will now be a column titled Manual Cheque with zero entries for all employees.
5. You need to enter the Net Pay that this employee will be receiving by cheque into this instruction. To find the Net Pay you will want to preview the employee's statement of earnings by clicking the arrow next to the employee's name and selecting Preview Statement of Earnings.
6. After entering the net amount into the Manual Cheque instruction, preview the statement of earnings again. The employee's net pay should now be $0 which means Rise will not be paying this employee.

Note that Rise does not provide further assistance for manual cheque payments. All manual cheques issued to employees must be processed manually by employers.
Related Articles
Create an ad-hoc pay run
1. In the Payroll menu on the left-hand side, click Payroll. 2. Click Process Payroll / Review Payroll History. 3. Click Create Ad-Hoc Payroll. 4. Enter the required Pay Date, Pay Period, and Reason into the appropriate boxes. Pay Date: Enter the ...Review & approve a pay run
Reviewing and approving a pay run is a **critical final step** to ensure all payroll information is accurate before processing. This guide is specifically designed for approving the pay run and focuses on the steps and key reports required for a ...Regenerate the input sheet
You may have seen the Regenerate button on your input sheet and wondered, "What are the implications of pressing it?" Thankfully, there is a warning that pops-up and details all the affects this button has, but we'll also reiterate them below. Any ...Remove statutory holiday pay from the input sheet
When a statutory holiday falls within a pay period, a payroll instruction will automatically be added to the input sheet for that holiday. Statutory holiday pay can be removed for individual employees in the input sheet or removed entirely if your ...Add payroll instructions to the input sheet
Adding an instruction to the input sheet If a payroll instruction is not scheduled to appear on this run (or potentially not scheduled to appear on any run by default, as is the case with "occasional" payroll instructions) it will be available to add ...